Switches


I like to use push button switches without exposed contacts as these have the shallowest depth so you can use the smallest plastic box to hold them. These switches are not weatherproof so you should enclose them somehow. Mount all the switches in a little plastic box that you attach to your handlebars with a cable clamp. Radio Shack sells a small plastic box (9/16x1-3/8x2-1/8"), part number 270-288 that will work, as long as the depth of the switch is not too much (only the pushbutton switch in the parts list will fit). You may be able to find rubber boots that go over the switches. If you use any switch other than the pushbutton then you'll have to go to a slightly deeper box (also available at Radio Shack). Its a tight fit putting three pushbutton switches inside this tiny enclosure, and the wires from the switches make it more difficult. Connect the wire from the battery to one side of each switch, inside the box; don't try to run all six switch wires out of the box (the schematic shoes all the wires going through the switch box, but this is not a good idea if you use the tiny enclosure). A slightly larger enclosure will make things easier to construct.

A three speed ceiling fan switch is another option. You will not be able to have both headlights on at the same time though you will be able to have an option for the tail light to be on by itself. There are many types of fan switches with different internal structures. You want one with the sequence of operation of: Off. L-1, L-2, L-3. One such switch is the Fantec 21101 "CAM #01", available at Home Depot for about $4.

You can buy a dual handlebar switch for $18 from J.C. Whitney. However if you have three lights to switch (two head, one tail) you'll need to have the tail light come on automatically with either headlight being switched on. You can use two 1 amp silicon diodes to achieve this. I could see that when mountain biking off-road, by yourself, that a tail light would not be necessary.

Drill four holes in the bottom of the box and attach it your handlebars with two cable ties. It may be too small to use a U bolt or loop strap.

Click Images for Details

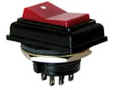
Rocker Switch
(also usable as battery selector switch for dual battery system)
Toggle Switch
(also usable as battery selector switch for dual battery system)
Pushbutton
Switch
Very small, very shallow, easy to mount, wire leads
Three position switch
(ceiling fan). 
Check current rating.
Check sequence (which contact is connected to where on each pull; there are many variations on the fan switch).

Buy at Home Depot.
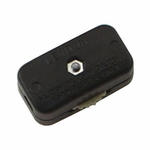
Leviton 423-3 Cord Switch

Using an in-line cord switches can eliminate the need for a switch box. Just insert the switch in a convenient location between the battery and the light.

Buy at Home Depot.

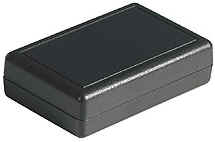
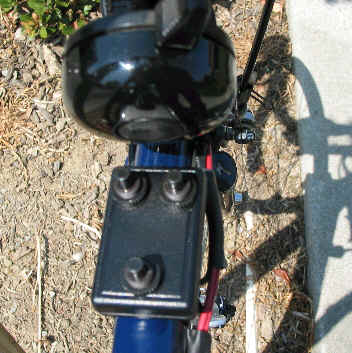
Ultracompact Enclosure 270-288 9/16x1-3/8x2-1/8"
Good for pushbutton switches, not deep enough for other switches
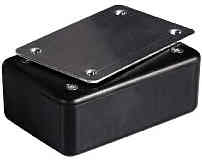
Compact Enclosure 270-1801
This 3"x2"x1" enclosure is a little larger than the ultracompact enclosure and easier to work with. It can be used with larger switches.
Handlebar Switch Set for 7/8" bars. Very nice, but you'll need diodes to isolate the tail light from the two  headlights, and won't be able to turn the tail light on or off independently 1 Amp Diode
276-1101
(for dual switch system,
allows tail light to be on
when either headlight is
is switched on, but not
independently)
$1.35 $1 $1 $4   $2 $2.29 $18 $0.59

To mount the ultra-compact switch box to the handlebars, follow these steps:
     1. Drill a hole in each corner.
     2. Use two cable ties through the holes, and around the handlebar or frame.

Switch Box Mounted to the Top Tube with Two Cable Ties. Top Buttons are for left and right headlight, bottom is for taillight.

Return to http://bicyclelighting.com